Leaderboard


Popular Content
Showing most liked content on 07/17/2019 in all areas
-
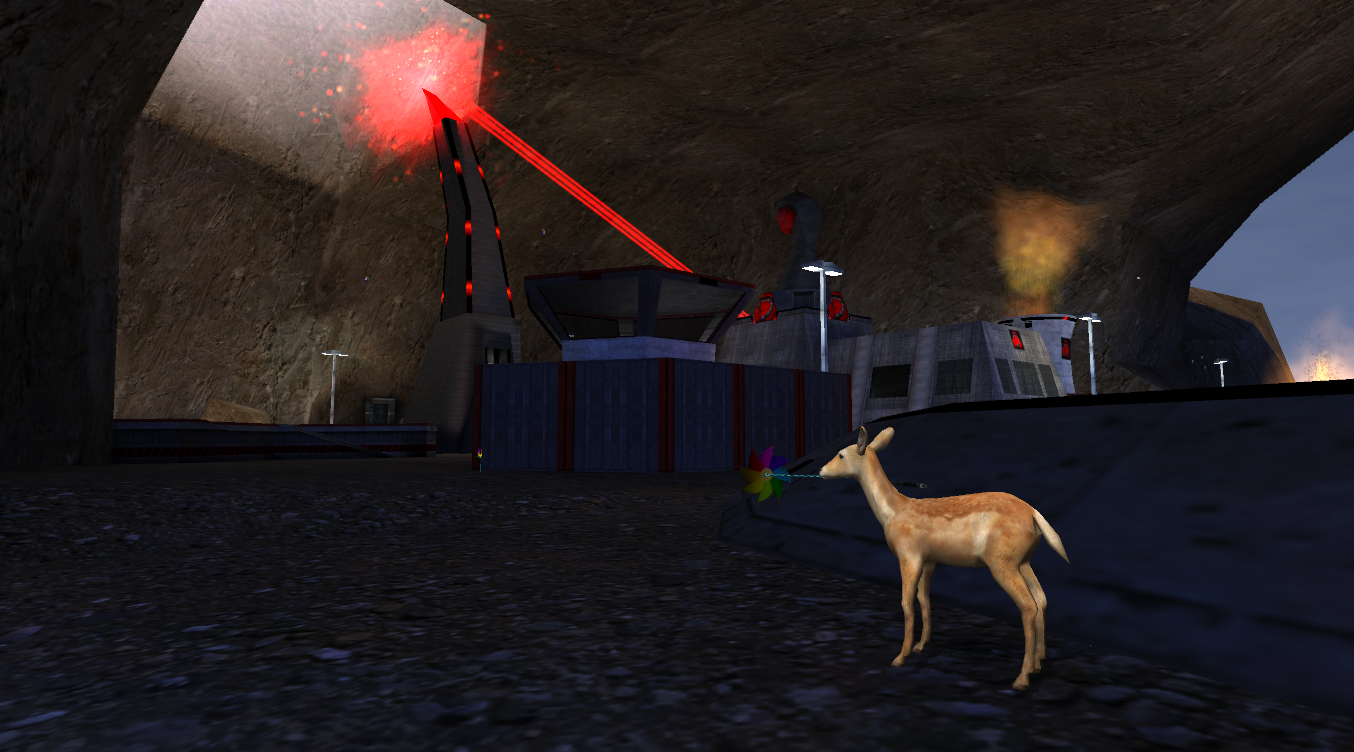
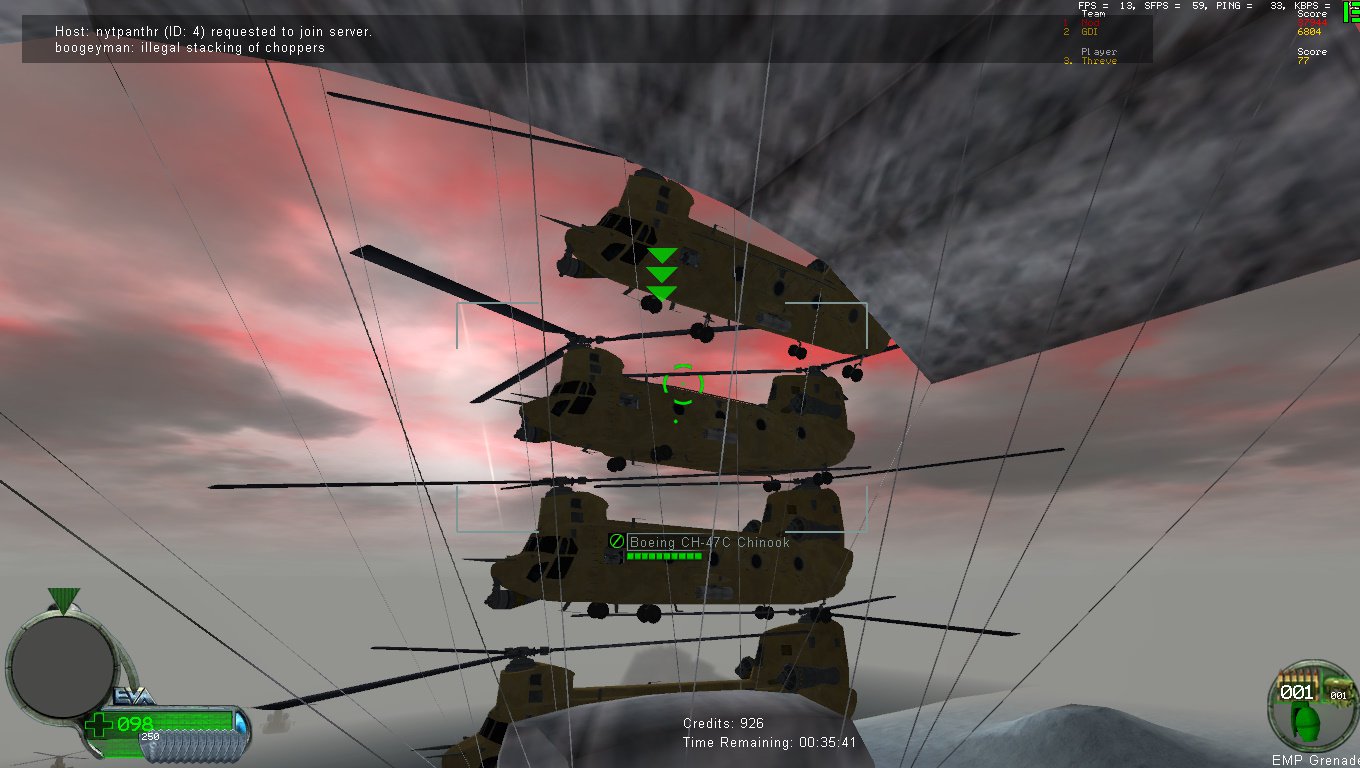
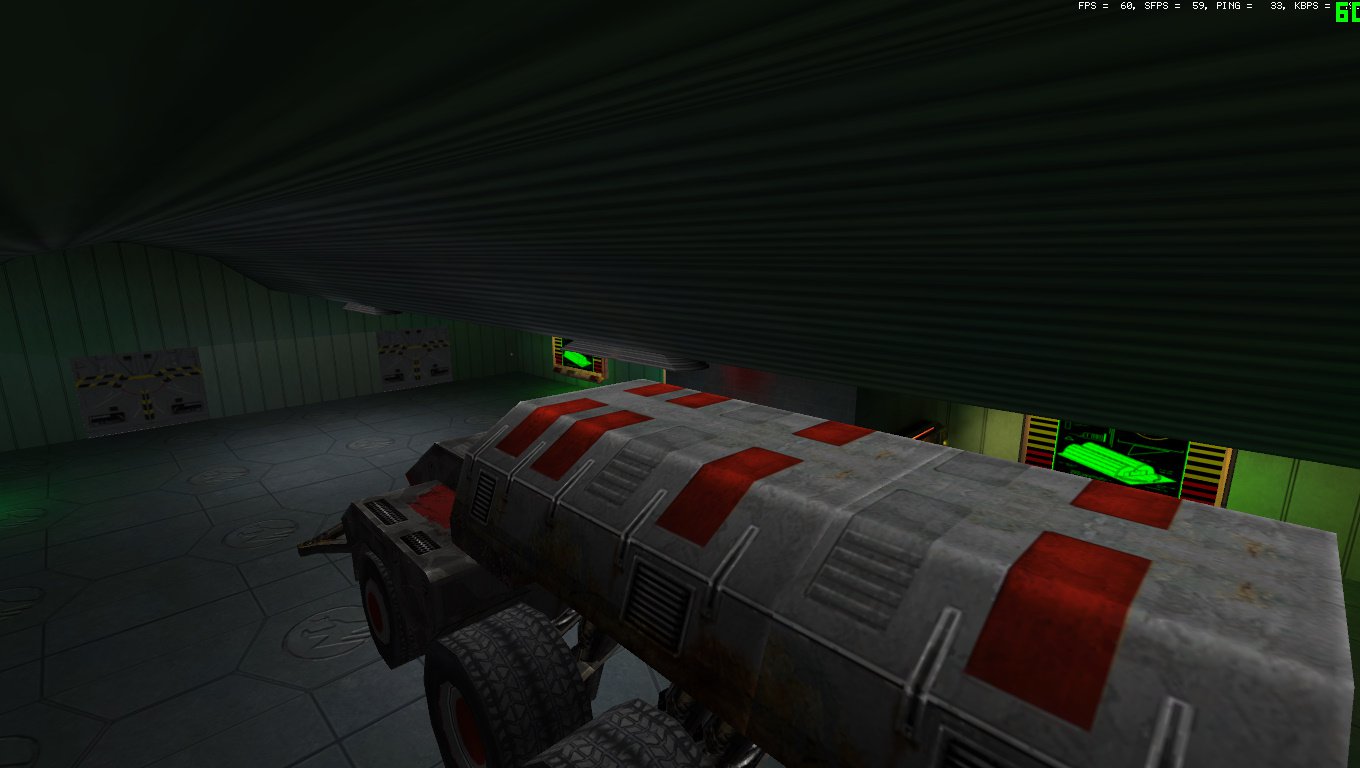
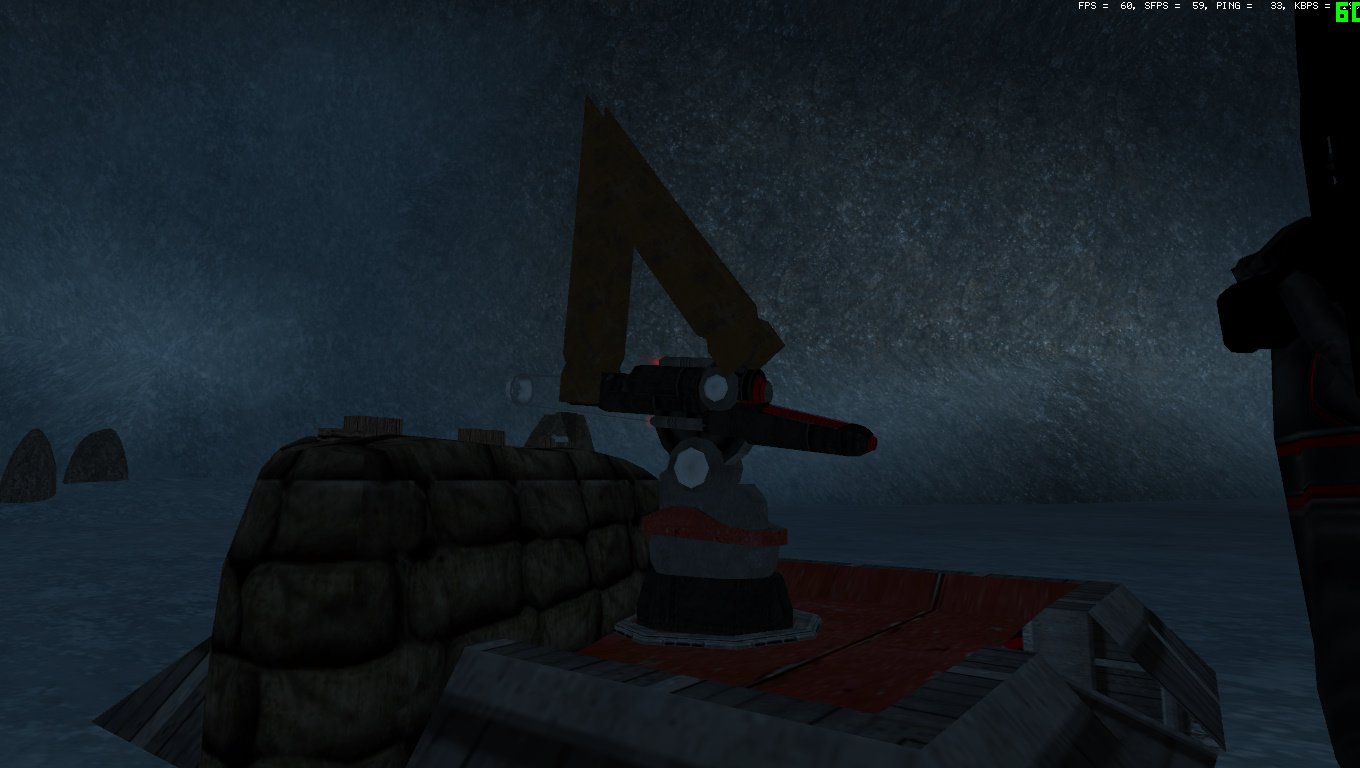
If you had to describe Renegade in one picture.
 2 likes
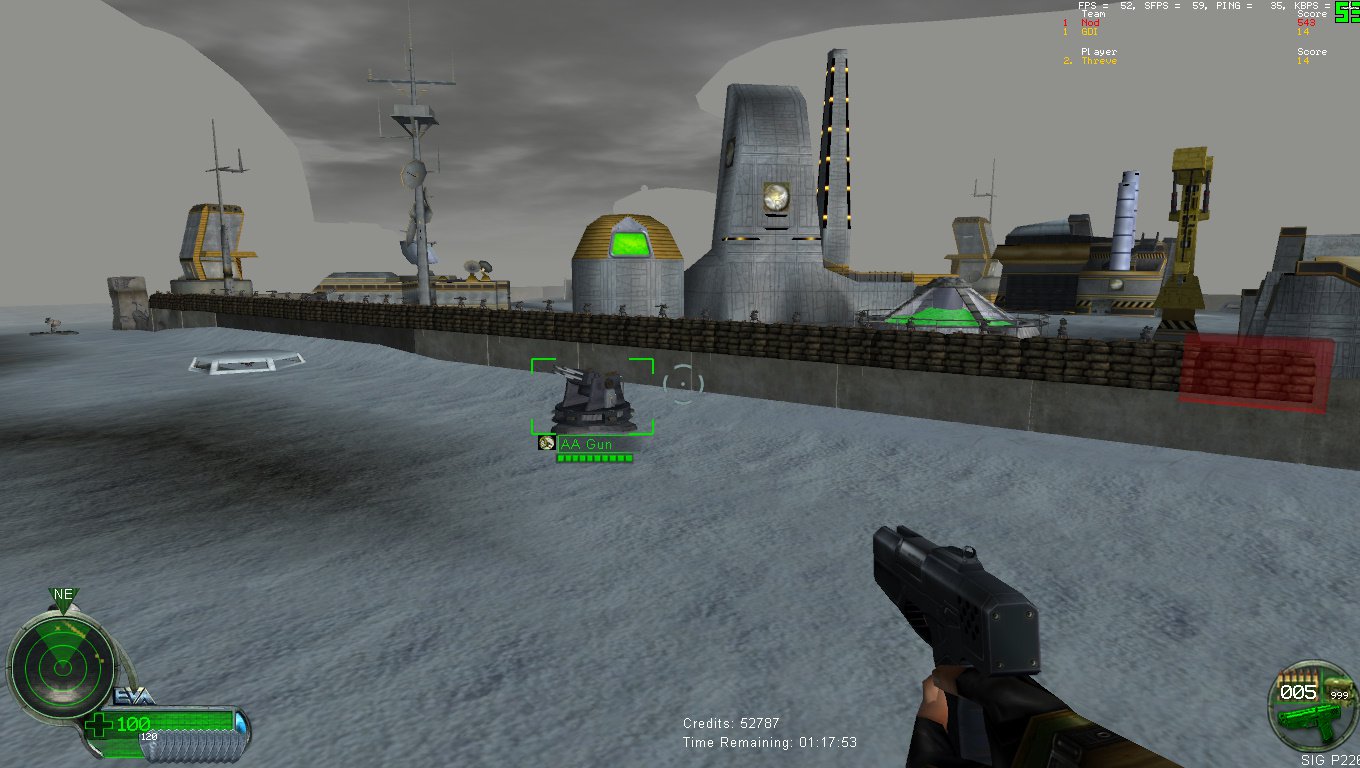
 -
(I don't know if playing Reigns: Game of Thrones to try to make sense of game lore is a good idea or a bad one...)1 like
-
1 like
-
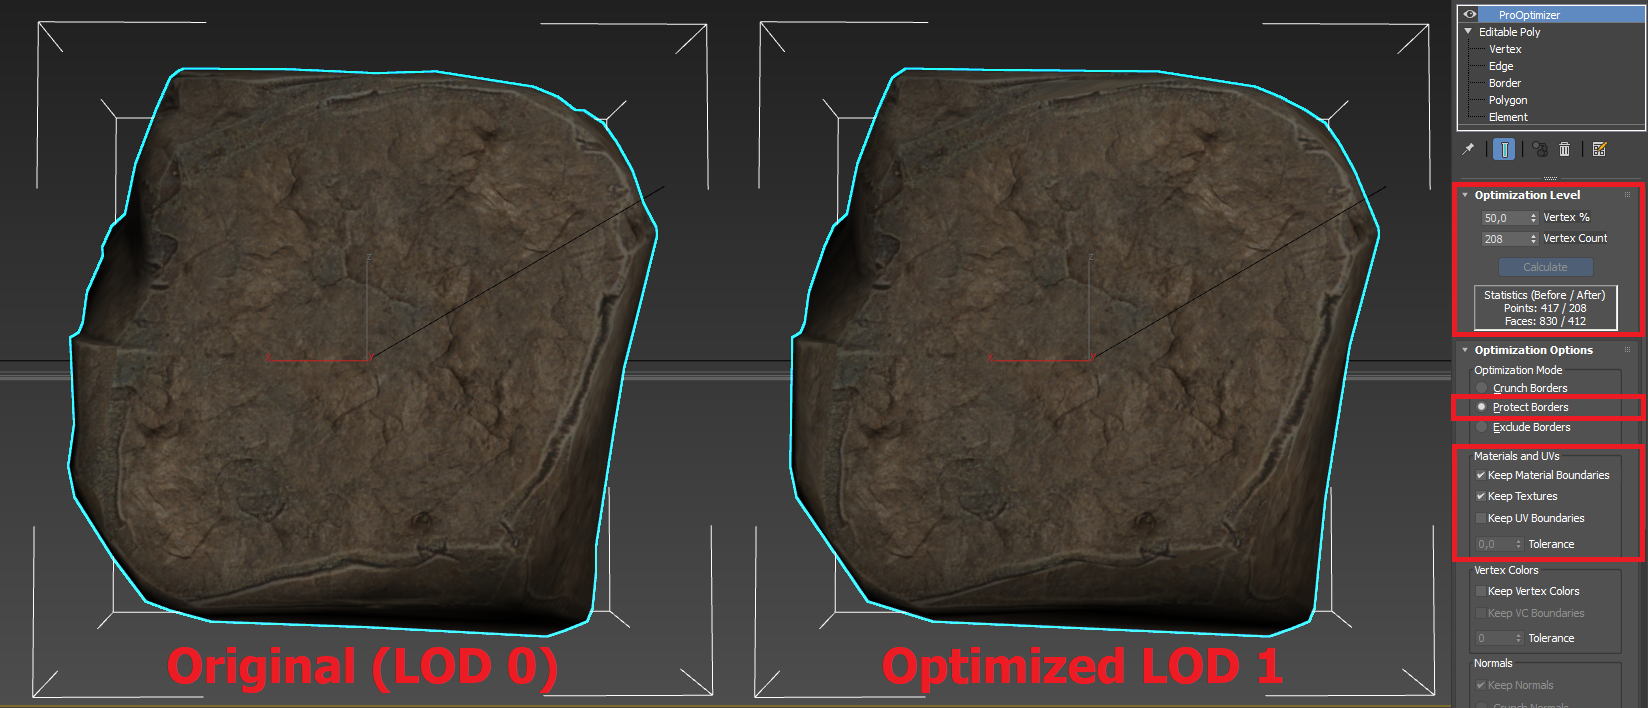
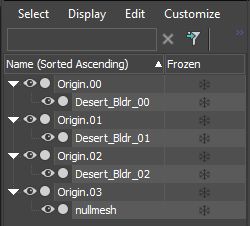
Here is a quick guide on how to properly add LOD to an asset for use in W3D, using the latest available tools. What you need for this guide: 3DS Max 2017 with W3D plugin. The latest version of W3D Viewer. A completed level art asset, for example a rock. In the viewport, enable statistics. (Right click on the [ + ] sign, go to xView and Enable Statistics) Step 1: Understanding How LOD Works Level of Detail (LOD) is a way to scale the detail based on the distance an object is from the player. It is an essential component in optimizing your game for players, and it should be employed frequently, on most art assets not considered part of the "main terrain mesh". For each LOD stage we require, we need a gradually lower detail art asset. Generally speaking we will need 3 versions of the art assets, but you can get away with just 2 for really small objects. Here is how this is supposed to look with 4 LOD stages: LOD 0: This is your main art asset, we will not be touching the art of this one past this point since this is the model players will see in close proximity. LOD 1: This is the next step, here we will tune the art asset with a first pass of ProOptimizer. This initial pass should see a big gain in terms of polygon count reduction while not visibly being too different. LOD 2: Here we continue the gradual quality reduction of the art asset, keep in mind that players should not be seeing these models up close, so you do get a small margin of error worth of breathing space here, since players will not spot the occasional texture seam. LOD 3: This is the null-LOD. This final stage must always exist as a safety-net. This stage does NOT use a clone of your art asset. Ensure you name your assets to something logical, I recommend adding a suffix to each such as "_00" or "_01" to refer to what stage the art object is supposed to be. Step 2: Creating LOD Stages Open your art asset in 3DS Max 2017. Note: If your art asset is made up out of several objects, you should group them before proceeding. Select your art asset, now clone it. This new clone is going to be our LOD 1 art asset. On the Modify tab of your newly cloned art asset, look for and apply the ProOptimizer modifier. This is the modifier we will use to generate LOD assets. For the first optimization pass, we want a result that reduces the polygon count by about 50%, the exact result will vary since it is up to you to determine if the LOD 1 stage looks like not too significant a departure from the original model. In general the main things you should be looking for are whether the outline of your LOD 1 art asset is still looking close to the original (LOD 0) art asset, and making sure no significant texture seams show up. Note: Please be aware that if your art asset uses vertex painting, you will be forced to undo that in order to prevent either really bad results, or barely any results. You will then have to redo the vertex painting on collapsed LOD art stages (never apply vertex paint on an object with an active ProOptimizer modifier in the stack). To get to 50% reduction, you will need to play with these settings (Click to enlarge): As you can see, the visible effect on the model and texture is very minimal. The outcome varies per art asset however, and if you get errors in certain spots, I recommend playing with both the percentage target, as well as the "Tolerance" value. Tip: To assist in comparing before/after, use the display toggle next to ProOptimizer (the eye icon), this will help you spot the differences without having to alter the ProOptimiser values back-and-forth. Next, clone the newly optimized LOD 1 art asset, this will become our LOD 2 asset. Pay attention that you continue to name these logically. Take another look at the ProOptimiser values, for this next asset we will want to hang around 20% budget. Repeat the process as described above and feel free to tweak the values to your liking. For LOD 3, the null-LOD, will will handle this in the next part. Note: If you spotted some smoothing issues in your asset post-optimization, you can collapse the modifier stack (so that the only thing you see on it is Editable Poly), and then apply a traditional Smooth modifier onto it, this will correct a lot of edge weirdness that your model may or may not be having. Step 3: Rigging the LOD Asset - 3DS Max Once your 'artistic' side has been completed, we need to ensure we rig the the asset in a way that W3D can understand what it is. Worry not, as this process is fairly straight forward. Select all your art assets, from all LOD stages. Go to the W3D properties located in the Utilities tab, and uncheck "Export Transform (Bone)". In regards to other W3D properties, please keep this in mind: LOD assets in W3D inherent their collision information from the LOD 0 stage. This means your LOD 0 asset should have the proper collisions applied. It is possible to use a separate collision mesh as well, as long as this is hooked into the LOD 0 stage down below. Other settings such as VAlpha should be applied to all art assets of all stages. For each LOD stage, we will need to create a special bone. Create a small 1m box, and center it in the scene. We will call this box Origin.00. With Origin.00 selected, go to the W3D properties located in the Utilities tab, and uncheck "Export Geometry". Now clone this box 4 times so that you have 5 boxes in total, for LOD stages 0 through 3, and one more for the final null-LOD. Select the 5th box and rename it to Nullmesh, then go to the W3D properties, disable "Export Transform (Bone)" and re-enable "Export Geometry", and below Geometry Options check "Null (LOD)". With all the pieces created in the scene, we will now link them up. Select your art asset, and using the "Select and Link" tool located in the top menu next to the undo and redo buttons, link the art assets to their respective Origin bones. You can most easily do this by selecting them through the "Select by Name" dialog, also located near "Select and Link" at the top menu. So if done correctly, the LOD 0 art will be linked to Origin.00, and the Nullmesh should be linked to Origin.03. If in doubt, your hierarchy tree should look like this: Now be sure you followed these steps correctly, always double-check. Save your scene and export it as Hierarchial Model with both Smooth Vertex and Optimize Collisions enabled. ___________________________ Update: The next part of the tutorial is obsolete. Instead, Max Screen Size values are applied within 3DS Max, by using the new MaxScreenSize input option in the W3D properties panel. Recommended average screen size values: LOD0: 1.0 LOD1: 0.3 LOD2: 0.2 LOD3: 0.1 LOD4: 0.03 (null) You will have to tinker with the values depending on the asset. The general rule is, small objects should LOD earlier than larger ones. ___________________________ Bonus Tip: LODed presets are excellent for usage with proxies. So all the time you spent creating this LOD asset, can be earned back by populating your level with this asset in 3DS Max via proxy. To make a proxy, create a preset in Mammoth containing the LOD W3D file, for example FancyRock1. In Max, open your LOD file and save the LOD 2 art asset as a separate file. Within this new file ensure it is not linked to any Origin bones. Remove all materials and merge all meshes, and ensure the pivot (not the mesh) is located at 0,0,0 of your new singular scene object. Name this object FancyRock1~01. You can now place this object around your level, and once loaded in Mammoth, all objects called FancyRock1~## will be replaced with the preset named FancyRock1, using the position and orientation from the proxy mesh. Once your project has a whole library of LOD assets available, creating new levels will take much less time. Hopefully this will help some people understand how to create LOD assets using the latest tools for W3D. If there are any questions, ask them below.

 1 like