Foreword
In the last year or so I have been extensively playing clan games i.e. small games compared to public servers, and unlike public servers everyone is working in co-ordination. So I now present a strategy guide for small games, and here's City Flying.
These strategy guides all assume the starting credits are zero.
Before I actually begin the City Flying guide, I'm going to explain a principle by which I generally play. It's extremely simple, extremely effective, and it frankly baffles me that the vast majority of players in public servers don't seem to understand it.
My general Renegade principle
If your enemy has powerful and expensive weapons, destroy them before you attack his base. I'm being theoretical here, but here's a demonstration of what I mean. Let's say the map's Under and you're on Nod. Let's say there are a couple of GDI players who are camping in front of their AGT to defend the base. If you rush in with stanks, flamers or APCs intent on base destruction, you'll fail. The meds will smash up your rush and you won't kill a building. All you'll do is run out of money, while at the same time giving your enemy some nice fat points. Instead, get an artillery and some light tanks, and kill the med tanks first. Hit the weapon factory a couple of times with the artillery. This will force the med tanks to rush you, otherwise you would just get massive points... and when they rush, concentrate all your light tank/artillery fire on the med tanks. Then once the med tanks are destroyed, you'll have an artillery hitting the factory, a couple of light tanks ready to rush the AGT, and GDI can't do jack about it. Most likely, you'll kill one if not both buildings in that scenario. At the very least, you will build up a large points lead and get lots of cash for your next attack.
Anyway, bear that principle in mind as you read on...
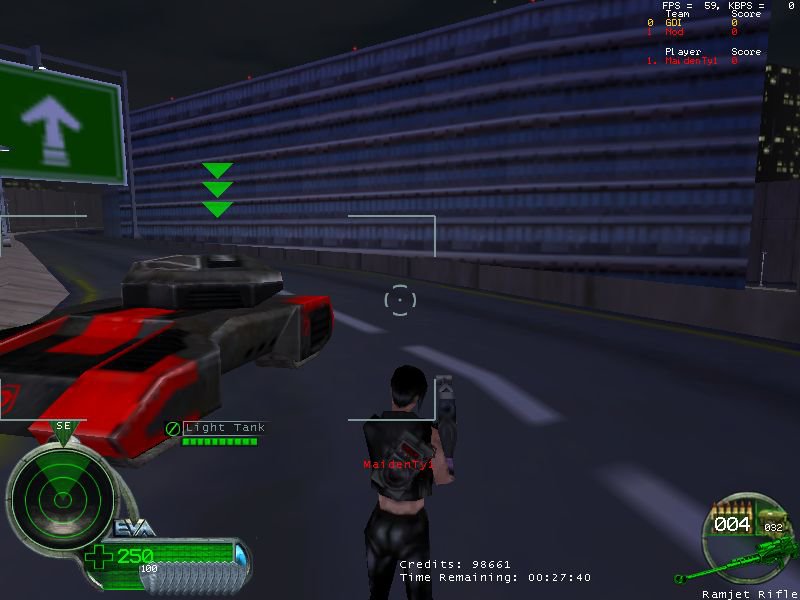
Early Game: Getting money quickly
The most important thing for both sides as the game begins is to acquire money as quickly as you can. There are three ways to do this: gathering crates, attacking the enemy harvester, and defending your own. Crates are much more important on City Flying than any other map. Firstly because they are easily accessible, secondly because City Flying crates are twice as valuable as other maps (excepting Mesa). On most maps, a crate will either give you 100 credits or an ammo refill. On City Flying (or Mesa), they give you either 200 credits or 100 credits and a refill.
While most of your troops should focus on the harvester issue (which I'm about to get to), you should always be vigilant for which side the crate spawns at so you can snag it instead of your opponent. Moving on to harvesters. In a perfect world you will destroy the enemy harvester and protect your own, but it isn't likely you'll do both against a good opposing team. For GDI, you should rush the field immediately with GDI soldiers, with perhaps an engineer or grenadier in the mix as well. GDI soldiers can easily dominate the map early on. For Nod, using Nod soldiers isn't such a great idea since Nod's automatic rifles are pathetic compared to their GDI counterpart. Most of your team should use engineers instead. This is where having good pistol abilities is a big advantage. If your team is good with infantry and your opposing team isn't, you can kill off their soldiers at the start, earning yourself a good thirty seconds in which to attack the enemy harvester with C4. It will also help to ensure your own harvester survives.
It is sometimes a worthwhile idea for one player to buy a Humm-vee, Buggy or APC early on. This can dominate the field in the early game, and makes it virtually certain that you will kill their harvester a couple of times, hopefully defend your own, and continue to gather those all-important crates. Buying the aforementioned vehicles to actually rush your opponent is something I'll get to later.
What you need
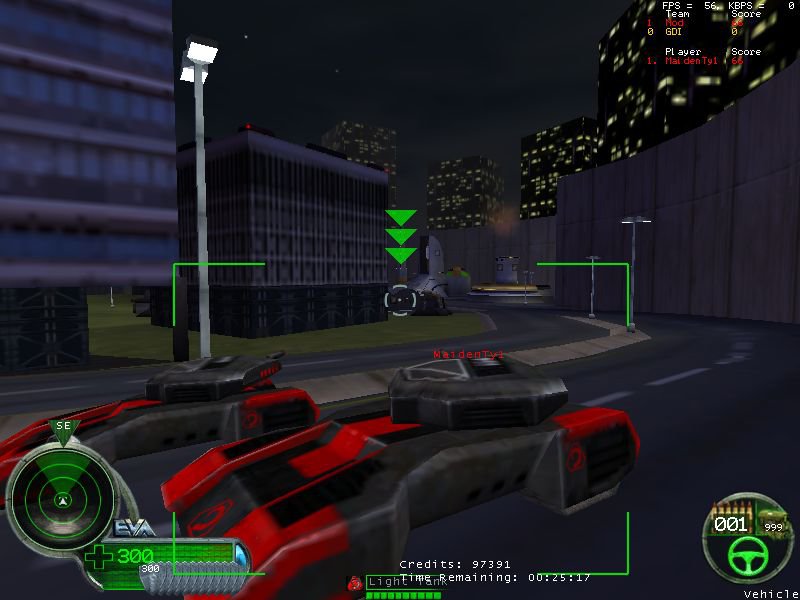
Here's a general outline of the units you need on City Flying, once you've got money. For GDI: One Orca, one Havoc, remaining players should buy medium tanks. For Nod: One Apache, one Sakura, remaining players should buy light tanks. These unit combinations might not seem obvious to most public-server players, but read on and you'll see why this is the best thing to do.
Buying units with the intention of rushing your enemy's base to kill buildings straight away is a really, really bad idea. It might work in a server where most players don't really bother working in co-ordination, but at the top level of play it's a blunder. If you were to mass APCs and try to rush the powerplant, for example, and your opponent had the unit combinations I mentioned above, they will rip your APCs to shreds before you even get close. Remember the Principle. Destroy your enemy's units before you try attacking his base... because once you've killed their vehicles, they can't stop you. At the top level of play, it comes down to a fight between an Orca, a Havoc and Medium Tanks vs an Apache, a Sakura and light tanks. Instead of going straight for basekill, take the field with the aforementioned units. Control the central area of the map, kill their harvester every time it comes out (I'll explain the importance of this shortly), try to protect your own if you can... but most importantly, your opposing team is probably going to do the same. It is your objective to take out your enemy's vehicles before you try to do anything else.
Sniping
The Havoc/Sakura is probably the most important asset for your team on this map. You need someone skilled at sniping otherwise you are probably doomed against a good opponent. Now, you may be thinking it doesn't take any kind of skill to shoot down an Orca/Apache with a ramjet. While that's indisputably true, remember that your opponent will also have a sniper and sooner or later the two snipers are going to tangle. The winner of that fight can often determine the course of the game. Here's why: Again, remember the Principle. For the sake of argument, let's say GDI has an Orca, a Havoc and two Med Tanks on the field. Nod has an Apache, a Sakura and two Light Tanks. Let's assume the snipers fight each other and the Havoc wins. GDI now has an Orca, a Havoc and two mediums against an Apache and two lights. The Apache is a sitting duck now for the Orca and the Havoc, meaning he's either forced to retreat or he's going to get shot down. Either way, you've taken an Apache out of the field too, so it's now an Orca and two meds against two lights. The Orca alone is enough to rip apart the light tanks. This is why it is so important to have a skilled person wielding your team's ramjet. Simply killing your opposing team's sniper can spell doom for the rest of their team.
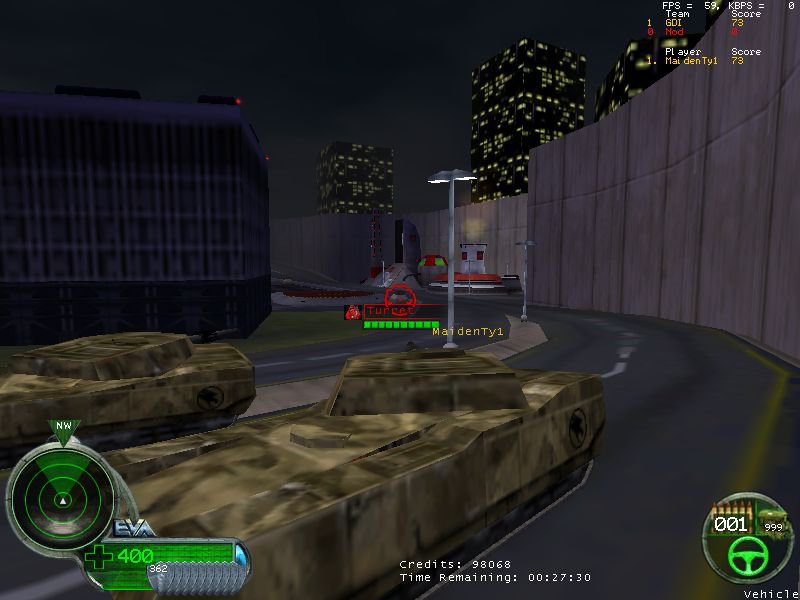
Once you first buy your ramjet, you should position yourself in the tunnels on your own side of the field. This gives you a decent cover of the map and also keeps you more-or-less safe against opposing vehicles. For now, just cover your teammates against the opposing Orca/Apache, and sit tight until you have 500-600 credits. Once you do, head back to base and buy an APC or a Light Tank. Then you should move onto the bridge, like so...
Sit tight here for a while. You can give good coverage of most of the map against your opponent's Orca/Apache. Sooner or later your enemy's sniper will probably appear on the other side of the bridge, in which case it is your mission to pick him off.
Flying
As a general rule, your Orca or Apache should roam the map to wherever you're needed. In the early game, it is common for the sniper to camp in the tunnels, so you should use the bridge as cover while you keep the field under control with your orca/apache. Generally just keep your tanks and your sniper covered, keep enemy tanks away from your base, and kill their harvester. When you have another 350 credits, go back and buy yourself a hotwire/technician. Later on, the snipers tend to move to the bridge once they can afford vehicles for themselves, in which case you can stay underneath the bridge to keep yourself safe, although it does limit your mobility.
Using Tanks
You should always have a Medium Tank or Light Tank here.

A tank here serves a vital function: it can destroy the enemy harvester every time it moves on to the field. For GDI, it has the additional advantage of making it impossible for Nod to sneak a stealth tank past you that way. Another player should always be covering the opposite side with a medium/light tank. Once one of your tank drivers has 1000, it is usually a good idea for someone to go back and buy a second sniper. The second sniper should stay on ground level, while your first sniper covers the bridge. This makes it an extremely dicey prospect for the enemy Orca/Apache to move onto the field. However, the downside to this tactic is you will not be able to fix your own tank, relying on someone else to do it for you.
Why killing their harvester is so important
There are two reasons. Firstly it's a safe and easy source of points, but more importantly it cripples their cash flow. As I have already mentioned, your objective on City Flying is to destroy your opponents' units. If you take out one of their tanks, big deal... they will soon afford another. However, if you take out one of their tanks AND you've been killing their harvester every time it moves onto the field, one player on their team has nothing to do other than run around like a monkey looking for crates... so in effect, you now have the advantage of numbers, if only temporarily.
Once they do start having cash flow problems, you should focus on the next stage of your gameplan, which is Moving Up.
(As a side note, if the game's going your way and you are OK for money, consider blocking your own harvester by jamming a buggy/humvee at the refinery bay. This will stop your opponent getting easy money/points by attacking your harvester, and also prevents harv walking - although harv walking on City Flying isn't really that much of a threat at the top level of play)
Moving Up
It isn't a great idea to move much further forward than these positions to begin with, and here's why. If, once you have your medium tanks, you just move all the way forward and attack Nod buildings, you're easy prey for their Apache and Light Tanks, and your team's Orca will have a tough job covering you. Instead, your team should sit tight in the field for a while until you kill at least one of their units. Usually the next stage in the game is determined by the two snipers fighting each other. If your sniper is victorious, your Orca will have free rein of the map (at least, until they can afford a replacement ramjet), so your Medium Tanks can move safely forward and start attacking the Nod base. Once you have the opportunity, your tanks should move up to these spots, while your Orca/Apache covers them.
Your bridge sniper can also move all the way up to their base. If he has a Light Tank he can hit the weapons factory. If not, he can simply keep the Orca covered.
Move up with the GDI APC/Havoc; because when a Nod player buys a vehicle, he's extremely vulnerable to snipers while he runs to the airstrip pad to collect it. If he buys an apache, for example, you can snipe him off before he reaches it, and then destroy the vacant apache so he's just wasted 900 credits.
Stealth Tanks
Stealth Tanks are also an option I haven't mentioned yet. They're also a rather large gamble: using a stank will usually either win you the game, or cost you the game. If you want to learn how to effectively use a stealth tank on City Flying at the top level of play, you should forget everything you've seen in public servers. Trying to sneak into their base on your own, while feasible in public servers, will not work in a clan game. Massing stealth tanks with your entire team and trying to rush the barracks is also a doomed strategy. There is one thing stanks excel at, and it's giving your sniper the element of surprise. If your sniper isn't short of cash, consider buying a stealth tank for his sakura. This way, you can catch their Orca by surprise and rip him apart before he knows where you are (your Apache should help out) While stealth tanks pack more punch against buildings than light tanks, they are much flimsier and have a shorter range, which is why light tanks are better as a general rule. A light tank is perfectly capable of destroying a medium tank in a one-on-one situation, but with a stank it's unlikely. So, stealth tanks are something you can occasionally pull out of your sleeve, but they should not be the core of your strategy: Light tanks should be.


Recommended Comments
There are no comments to display.
Join the conversation
You can post now and register later. If you have an account, sign in now to post with your account.
Note: Your post will require moderator approval before it will be visible.