
OWA
-
Posts
5,749 -
Joined
-
Last visited
-
Days Won
264 -
Donations
760.00 USD
2 Followers


About OWA
- Birthday 02/12/1990
Recent Profile Visitors
61,843 profile views


-
You can get the latest version of AR on the W3D Hub Launcher here:
-
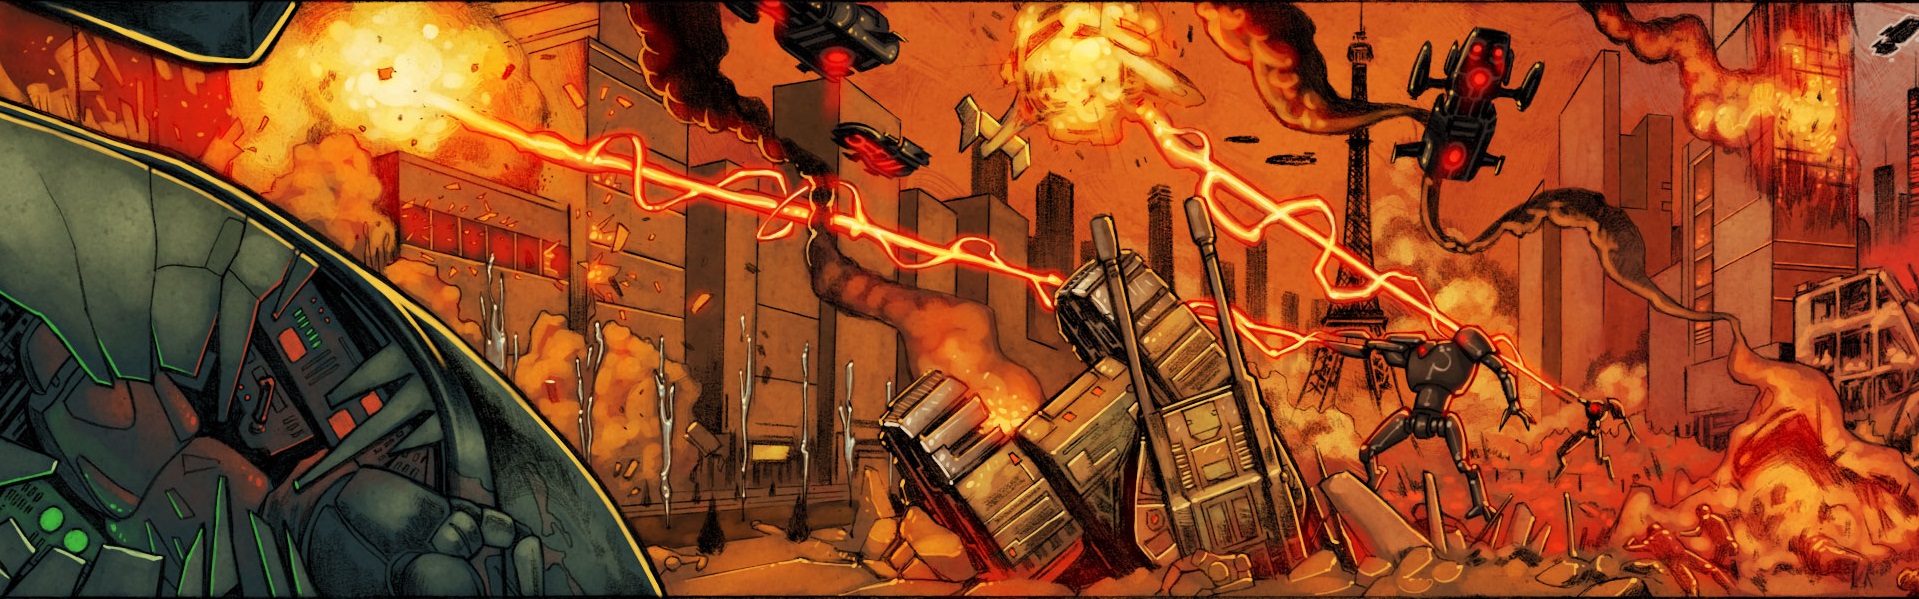
Celebrating the life of Udo KierLast month we were saddened by the unfortunate news that Udo Kier, who played the psychic mastermind Yuri in Red Alert 2 and Yuri's Revenge, sadly passed away at the age of 81. Udo's performance as Yuri in RA2 became one of those rare moments where an actor doesn’t just play a character—they reshape an entire community’s culture. His eerie performance as Yuri transcended his role as a simple RTS villain, becoming a cult figure in the world of strategy games that players would rally around and quote for decades to come. In memory of the great theatrical performance that Udo gave us in his role as Yuri, we have released a new patch which aims to introduce some of the spirit and flavour of Yuri's forces into Apocalypse Rising in order to carry on the legacy of Udo's impact on the Command & Conquer Community. Credit to @ Battle Dreadnought for the image below. R.I.P Udo Kier - 1944 - 2025 Hail to the great Yuri. [blurb]The latest update for Apocalypse Rising is out, celebrating the life and influence of Udo Kier.[/blurb] Update 0.9.0.9 The changelog for update 0.9.0.9 is below: Yuri is Master! Head over to the discord for all of out latest updates. As ever, feel free to leave your feedback and we'll hopefully address the issues in the next update! We'll hopefully be focusing on performance moving forward whilst working on some new maps (as well as balance updates), so stay tuned in the new year for that! Have a very Merry Christmas and a Happy New Year! - @ OWA , @ moonsense715 and the AR Dev Team

-
A massive thank you to everyone who voted for us in the first round of the IndieDB Awards this year! We're proud to announce that we've made it into the top 100, which is incredible for a relatively small and obscure fan project like ours! There's now two days left to vote for us again to make it into the top 10, so we are calling upon your help again! Please help us put this ol' C&C fan game into the public eye! You can vote for us by clicking the image below! [blurb]Comrades! We need your help to get into IndieDB's top 10! Head to IndieDB and support C&C fan games like ours![/blurb]
-
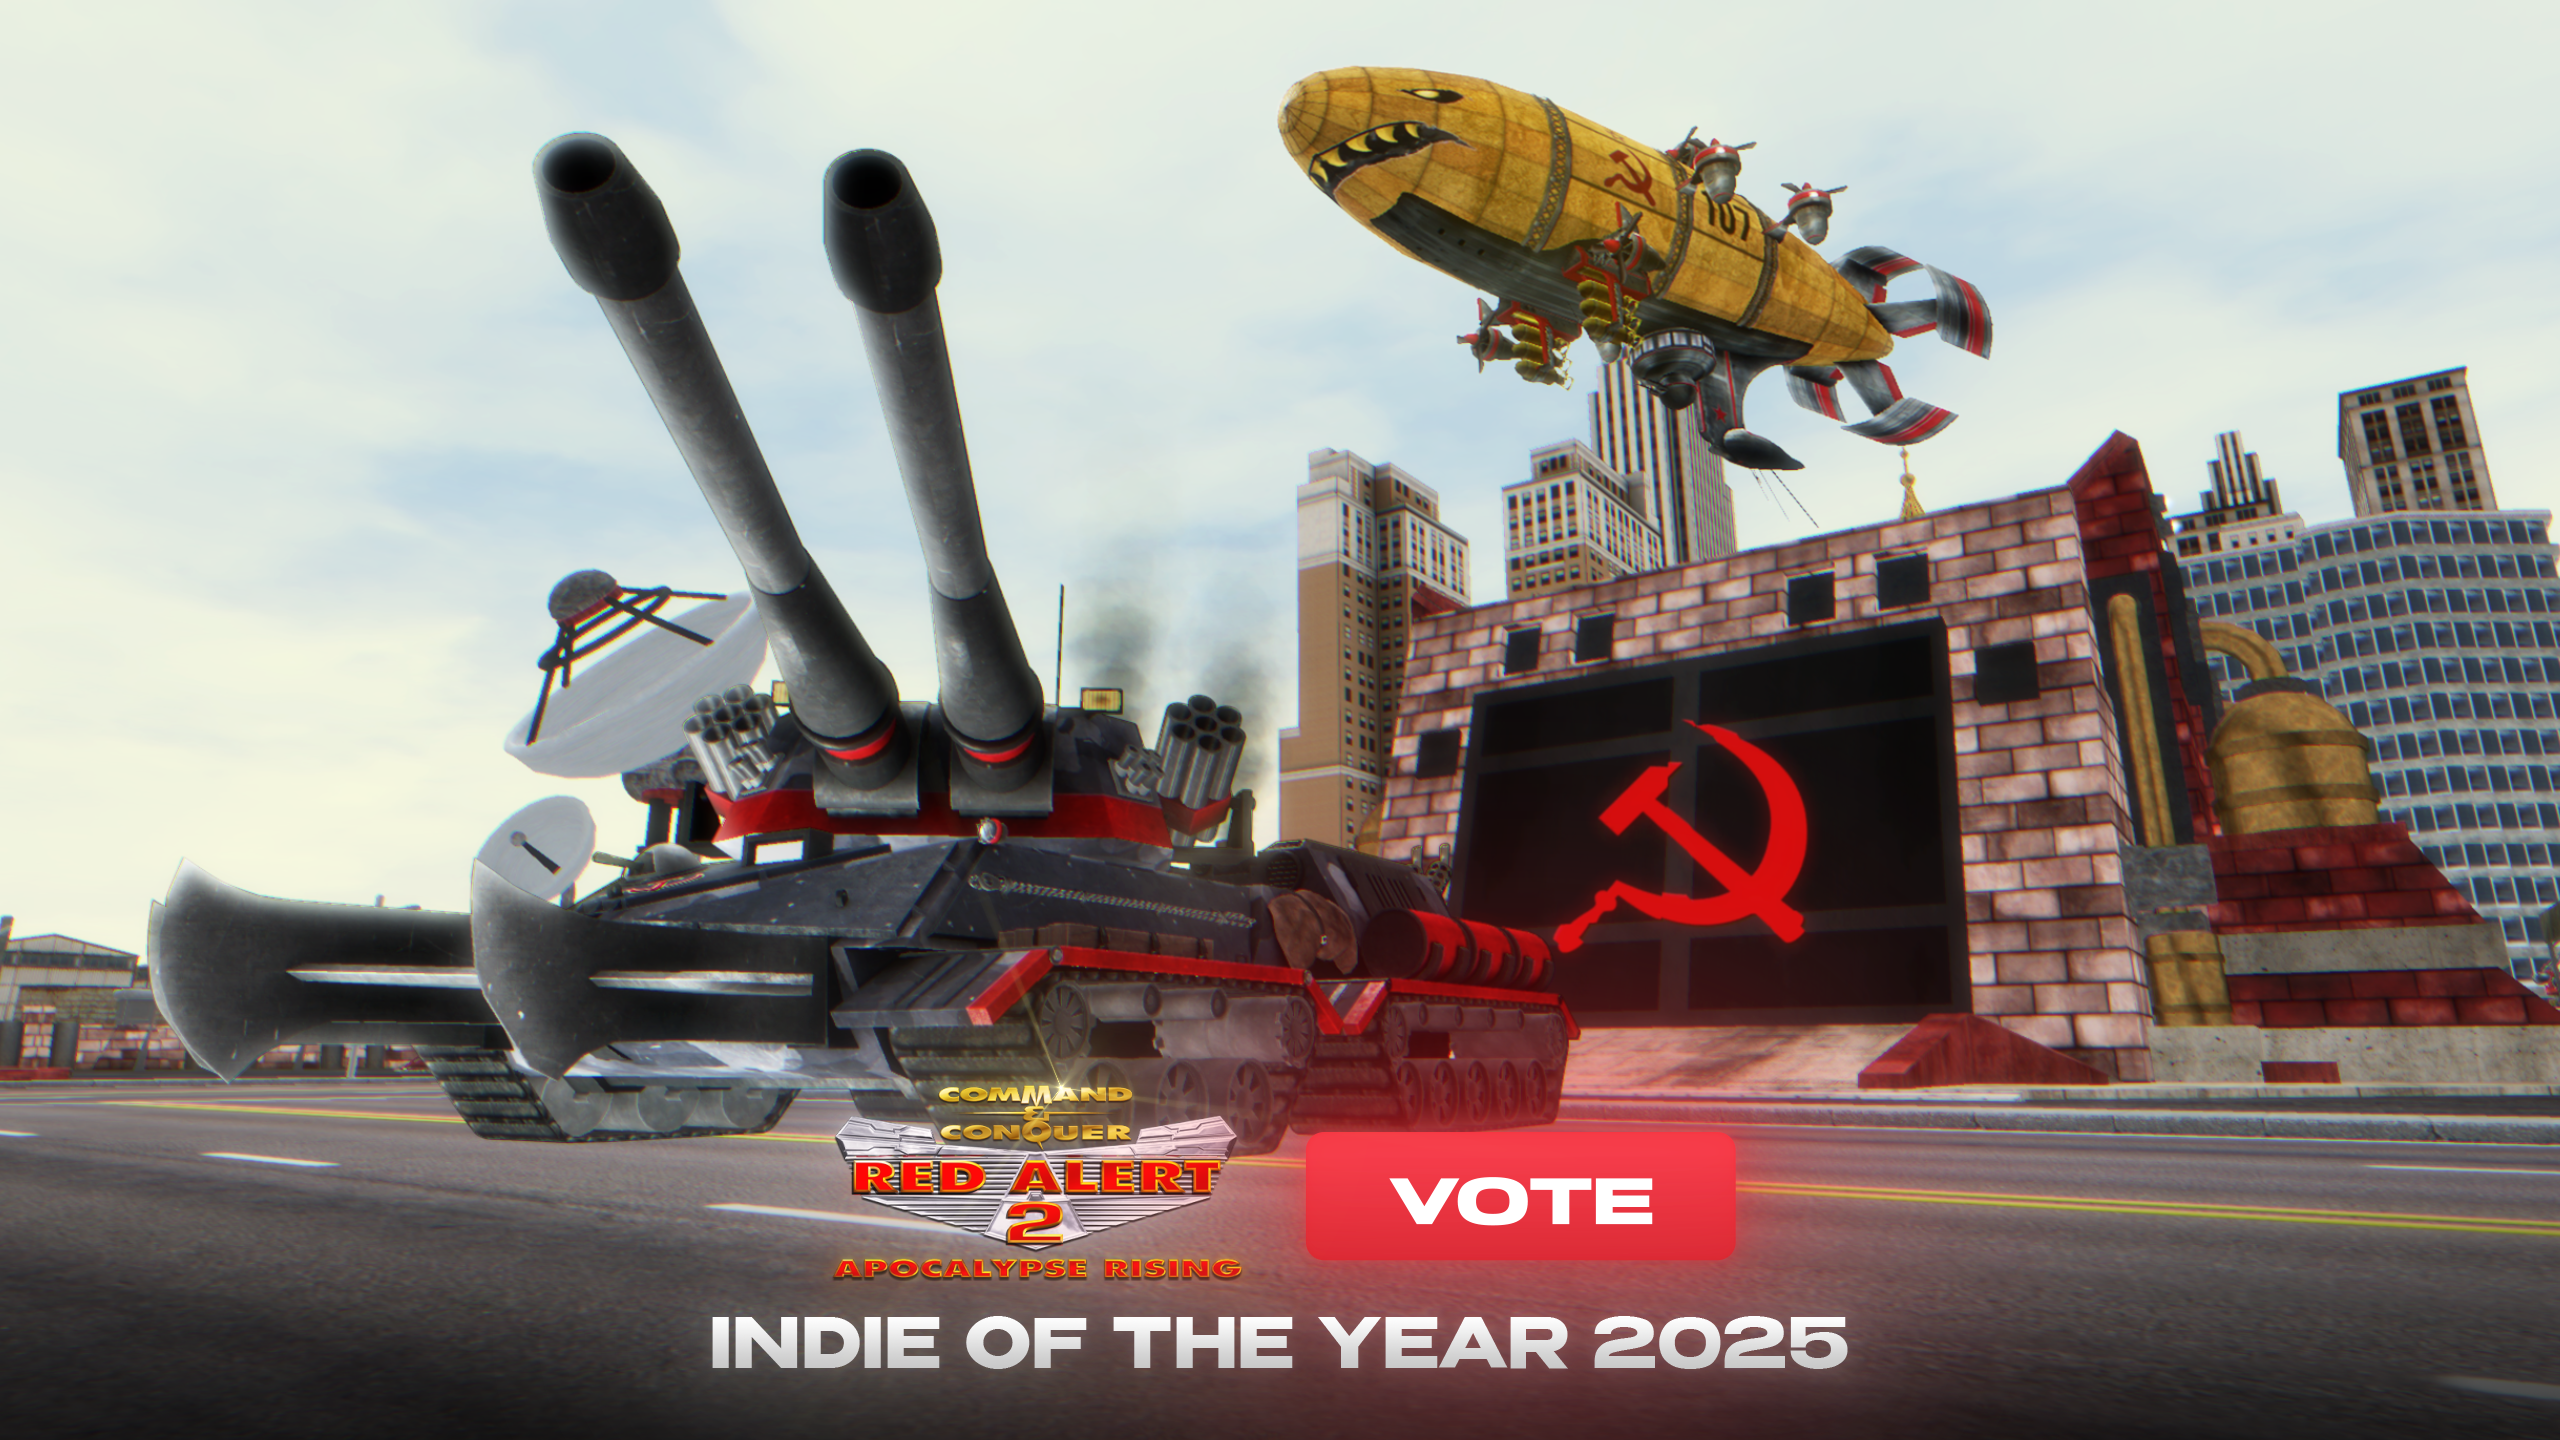
 Hi folks! We haven't been eligible in a while, but since we released this year, we're in the running for ModDB's Indie of the Year Awards 2025! There's only 2 days left to vote, but your vote could help us break into the top 100! Please consider supporting us by leaving a vote at the link below!: Link: → https://www.moddb.com/games/red-alert-2-apocalypse-rising [blurb]Nominate us for the Indie of the Year awards top 100![/blurb]
-
Red Alert 2 Turns 25! This weekend marks a monumental milestone: the 25th anniversary of Command & Conquer: Red Alert 2. A quarter of a century ago, this iconic RTS stormed onto the scene and captured our hearts and minds with it's bizarre and eccentric take on a cold war turned hot. To celebrate the game that inspired Red Alert 2: Apocalypse Rising, we’re thrilled to announce a brand-new patch that aims to address some of the most prominent community feedback! We've been quiet for a while, but the game hasn't been abandoned. we're still working on it when we find the time and hope to keep it maintained in the run up to our next big update. Here's what to expect in the meantime. [blurb]To celebrate the 2th anniversary of Red Alert 2, we’re thrilled to announce a brand-new patch for Apocalypse Rising that aims to address some of the most prominent community feedback![/blurb] Patch 0.9.0.7 Check out the changelog below: Keep Posted! Keep posted to the discord for all of the latest and greatest updates. As ever, feel free to leave your feedback and we'll hopefully address the issues in the next updates!
-
Hi folks! It's been great to see all of you playing and enjoying AR so far. It's been around 3 weeks since the release and the discussions, screenshots, videos and all of the other activity surrounding the game have been wonderful to say the least. But now is the time to start addressing the balance and making sure that your voices are being heard. Over the course of the past few weeks we've heard a consistent message, "Allies are overpowered". This first balance patch aims to provide some corrections so that Soviets have a bit more of a chance even when the Allied teamwork machine gets rolling. The notes for the patch (and the previous patches) are listed below, but first let's dive into another hotly requested item, Mod Tools! Modding SDK Over the course of the past few weeks we've heard requests from players to release the tools for the game so that they can make mods, peer into the unit statistics and translate the game into various languages. We're proud to announce that we've now made the modding SDK available here: https://gitlab.com/w3dhub/red-alert-2-apocalypse-rising/apocalypse-rising-sdk Whenever we release we will aim to update the tools to match the latest public version, much like we do with the server (also found here: https://gitlab.com/w3dhub/red-alert-2-apocalypse-rising/apocalypse-rising-server). If you're looking for tutorials and documentation, we have a wealth of info in our Tutorials forum but also on Tacitus, which is our documentation resource. Tacitus: https://w3dhub.com/forum/documentation/ Tutorials: https://w3dhub.com/forum/forum/171-w3d-tutorials/ Over time we will aim to add more to these tools, like pieces of example content and maps for you guy to dissect. In the meantime though, we can't wait to see what you'll all end up making and if you need any help creating things, please feel free to reach out to us over Discord. Patches 0.9.0.3 - 0.9.0.5Patches 0.9.0.3-0.9.0.5 are a series of updates that continue to fix more bugs, but represents our first major balance patch. From playing the game and listening to player feedback, we identified that the Allies were winning the majority of games, so this patch aims to bring the Soviets up to compensate whilst also nerfing some of the key Allied units. There's 3 patches here because we ran some internal testing before we settled on a final build (0.9.0.5). Changelog: Patch 0.9.0.2Continuing on with the them of fixing the game, Patch 0.9.0.2 introduced more fixes and altered the balance of some of the most egregious units. Changelog: Patch 0.9.0.1Released shortly after the game launched, patch 0.9.0.1 contained some key fixes to the game. Changelog: Keep 'Em Coming! That's all for now. Please feel free to leave your feedback and report bugs in the Discord and on the forums. We've got eyes on both platforms, so we'll make sure that every point gets a fair shake. Thanks again for supporting the game and our community! - The W3D Hub Team
-
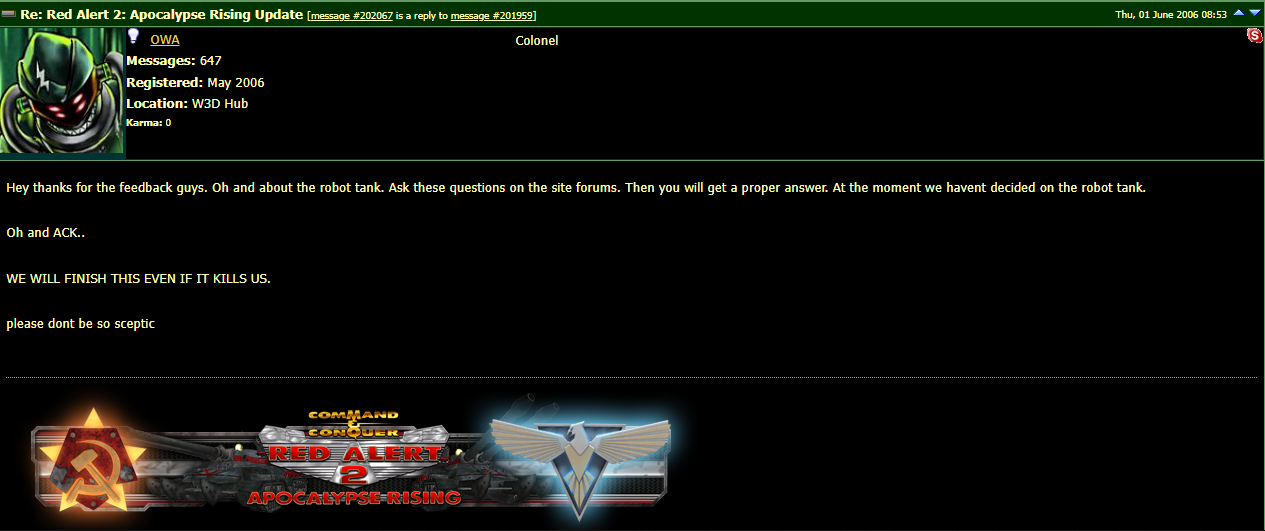
That's right, it finally happened! The beta release of Red Alert 2: Apocalypse Rising is finally out there and is now in the hands of the players! If you haven't checked it out yet, get on over to this link, download the launcher, install it, and jump onto one of the servers. There's plenty of games going on right now! We've released two hotfixes currently with a third to land sometime soon. Stay tuned for more information on these updates moving forwards! The Long Road to Release It's been incredibly humbling to see the amount of people who have picked up the game and enjoyed it so far and it makes the past two decades of working on it in our spare time all the more worth it! When @ cfehunter and I first imagined this game in 2005, initially as a Renegade 2 revival project called C&C Untold, we never thought we would end up here with you all. This reply on Renegade Forums back in 2006 showed that our conviction really meant something. We've been through a lot in terms of development; different web hosts, different eras of the Renegade modding community, and different people have all come and gone. But the two constants throughout the main lifetime of the project have been myself and @ moonsense715 , who is now one of my dearest friends. I promised him years ago that we would finish Apocalypse Rising together, and now that we've unleashed it upon the world it feels amazing. So thank you @ moonsense715 , for sticking by me through the thick and thin and always working your hardest on everything, because in the end, we've produced a damn fine game. Our goal was always to make a game that showcased our passion for Red Alert 2 while celebrating the gameplay of C&C Renegade that brought us all together here at W3D Hub. It's really a special community with lots of wonderful people in it and over the years we've moved mountains in terms of the obstacles we've had to tackle. I want to take this opportunity to thank the wider team for always believing that this game could come out, never giving up on it and always pushing me to never give up. The Future As for what's next, we're currently focusing on stability and bug fixing. Once the game is in a more stable place, we will begin to cast our eyes upon balance and start taking into account all of the feedback you guys have been leaving in the Discord channels. We aim to be transparent and receptive with the changes we make to the game and will always be hanging around on Discord to ensure that players always have a voice reaching our ears. Once we get past the first few major balance updates, we will then turn our eyes to new content such as maps, missing units, tech buildings and quality of life features. Once we've added more content to the base game, we can then start to think about expanding the game further with new features and content (Naval gameplay, Yuri's Army etc.). We have a few initial ideas, but we would really appreciate your feedback on what you want to see added to the game in the future. As ever, thank you for supporting the game, and we hope you enjoy it as we continue to expand on it. - OWA and the Apocalypse Rising Team. P.S, if you haven't checked it out yet, here's the epic launch trailer for the game courtesy of Battle Dreadnought!

-
Thankyou for stopping by and leaving such kind words @ akhero47 . It's amazing to see how many people are enjoying the game at the moment! Definitely shades of 2008 all over again.
-
Hey everyone! We're super excited to share that the new and improved W3D Hub Launcher is finally here! @ moonsense715 has given it a fresh, modern look and packed it with features such as: Modernized User Interface Game Import functionality across all W3D Hub Games Custom Online Nicknames Easy Game Installation and Uninstallation Offline Mode for Accessing Games and Servers when our services are down Quick Access to Important Folders (Install, Documents, Screenshots) Basic Render Settings and ECW Rendering Distance Customization Server Browser with Filters [blurb]We're super excited to share that the new and improved W3D Hub Launcher is finally here![/blurb] Download the new launcher below and we'll see you on the battlefield! As an additional note, the old launcher is still available if you prefer it. It is now known as the "W3D hub Launcher Classic". It will no longer be receiving updates however.
-
Version Beta 0.1.11
44,864 downloads
New & Improved: W3D Hub Launcher The W3D Hub Launcher is your ultimate gateway to the world of W3D games, offering a seamless and centralized platform for all of the games we develop here at W3D Hub. It provides full game downloads, automatic updates, and an integrated server browser for quick and easy server access. This latest version of the launcher also features modernized user interface that allows players to import any game installations from the previous version of the launcher (now called W3D Hub Launcher Classic). Main Improvements Modernized User Interface: Enjoy a sleek and updated User Interface. No Admin Needed: Run the app without admin permissions, except when installing certain dependencies. Offline Mode: Access your installed games and join servers even when the W3D backend is down. Resize App Window: Easily resize or maximize the launcher window for a better view. Features General Custom Online Nickname: Create and use your unique nickname. Login/Logout: Log in to your W3D hub Forum Account to access more games or log out as needed. Admin Permissions for Dependencies: The launcher only requires Admin permissions when necessary. Custom Install Locations: Choose where to install your games. News Page News Page: Stay updated with the latest news across the community! Games Page Games: Browse and manage your games. Game-Specific News: Get news tailored to each game. Install & Uninstall Games: Easily manage your game library. Import Renegade: Import Renegade instead of installing. Import other W3D Hub Games: Bring your existing games into the launcher. Unlink Games: Remove games from the launcher as needed. Update to Newer Versions: Keep your games up-to-date. Channel Switching: Switch between channels if multiple are available. Quick Folder Access: Easily access install, documents, and screenshots folders. Settings: Tweak several settings for installed games. Default 3rd Person Camera: Enjoy games with a default 3rd person view. No WWConfig for 4.x Games: Skip WWConfig on first load for 4.x games. Basic Render Settings: Adjust basic game render settings. ECW Rendering Distance: Customize rendering distance for ECW. Playing: Play online and offline. Play Online: Join the server with the highest population. Single Player Mode: Play games offline. Servers Page Servers Page: Browse available game servers. Hide Uninstallable Servers: Hide servers for games/channels you can't install. Server Info Panel: Get detailed info by clicking on a server. Join Servers: Automatically join servers if the game is installed. Install Related Games: Install games needed to join servers. Password Prompts: Enter passwords when required. ECW Server Login: Log in to access ECW game servers. Server Filters: Filter servers by game, region, and name. Details Toggler: Toggle server details (ping, region, channel). Offline Mode Use Without Backend: Continue using the launcher even if the W3D backend is down. Load Last Known Games: Access the last known list of games. Use Installed Games: Play all previously installed games. Server List Mirrors: Attempt to load the server list from multiple sources. Fallback Server List: Show the last known server list if all attempts fail. Planned Future Updates Cross Platform Support: Native Mac and Linux Support Repair Game: Quickly repair games without needing to uninstall and reinstall. Localization: Support for multiple languages. Credits@ moonsense715 - Primary Coder @ danpaul88 - Additional Code (Classic Launcher & Backend Architect) @ cyberarm - Additional Code & Linux Support (Linux Launcher) -
Hi everyone and thank you for bearing with us as we continue to discuss. We never thought that the Renegade source code would ever see the light of day after all of these years, but the impossible is happening right now and it's our duty as the Renegade/W3D Engine modding community to provide clarity and direction. We've noticed your discussions, saw your questions, and had our own chats about going forward. Regarding the source code release, we have answers for you. Where does W3D Hub stand?The release of the Renegade GPL-licensed source code by EA has presented us with both opportunities and challenges, but before we get into unpacking that let's start with explaining what we have been working on already. We currently have two main development branches that are closed source: the Scripts 4.x branch and the Engine 5.x branch. Both of these closed source codebases are compliant with EA's modding guidelines for the Command & Conquer franchise: https://www.ea.com/games/command-and-conquer/modding-faq Scripts 4.x Branch Purpose: The 4.x branch is primarily focused on maintaining and improving Renegade while ensuring compatibility with older content and systems. Key Features: Compatibility: Ensures that existing Renegade maps, plugins, and other content remains functional on a variety of operating systems. Bug fixing: Fixes various bugs that were present in the released game. Anti-Cheat Measures: Includes various anti-cheat mechanisms to protect the integrity of the game. Engine 5.x BranchPurpose: The 5.x branch is a completely reverse engineered version of the W3D game engine, incorporating an expanded set of features and development improvements. 5.x no longer supports Renegade, as it's primary function is to advance and support games such as Red Alert: A Path Beyond, Tiberian Sun Reborn and Battle for Dune: War of Assassins. Key Features: Advanced Features: Introduces new functionalities and improvements over the 4.x branch, such as better graphics, physics, and tools. Future-Proofing: Designed to support future development and expansions, making it a more flexible game engine than 4.x. The Issues We FaceThe Renegade source code has been released under the GPL license, which means any code using that must also be open-sourced and available to the public. We are unable to open-source our current 4.x and 5.x branches because of the following: Releasing our code requires the explicit permission of everyone who was ever involved, and after 20+ years of code contributions and some of its developers having left us or otherwise, this is not possible. Third-party libraries, such as FMOD which we use for our audio system, are not compatible with the GPL license. Releasing 4.x and 5.x code opens the door to cheaters who can exploit our games, which cannot be done for the sake of fairness and enjoyment of our games as they are. Our Decisions The Future of 4.x and 5.x With both the 4.x and 5.x Branches, we will continue as we have always done. The Tiberian Technologies scripts patch will remain with 4.x and Red Alert: A Path Beyond, Tiberian Sun: Reborn, Battle for Dune: War of Assassins and other projects will remain on 5.x for the foreseeable future. The reality is that we still need these branches to fix Renegade in it's current form and also maintain our own game projects. This ensures that no development is halted and that our games remain available to you to play. To clarify our position, we will not be using the released GPL code in these branches as that would not be GPL-compatible. In layman's terms, 4.x and 5.x will have to pretend the code is not there, and continue that work without peeking or using any of it. A New Project Emerges: OpenW3D Using the released Renegade source code and complying with the GPL license, we are starting a new open source game engine project, simply named OpenW3D. We aim to bring the source code up to modern standards, get it building and usable, and then begin implementing the features and upgrades we developed across 4.x and 5.x and the rest of Renegade's modding history. We are not tossing away our 4.x and 5.x work, but rather we are looking to get back to that point - this time from the source code. With the benefit of hindsight taking away a lot of the guesswork, and renewed interest in coding and modding bringing activity, we hope to get this ball rolling! Here's an initial plan of action: Bring the codebase up to par with modern C++ standards (ideally 20) Put it into a modern build system (CMake, Sharpmake, etc.) Remove/replace 3rd party stuff that makes it incompatible with GPL (can be done simultaneously with above steps) As a baseline, just get Renegade working in it, and maybe build a single test map, just so we know that we can go from raw dev data to an exported and functioning game Start planning upgrades and porting over one of the W3D projects We are also mulling over the possibility of cross platform support as well, which should excite all of you Mac and Linux fans! We have hands already on this plan of action, with several of our experienced programmers tackling the codebase now. We aim to expand development shortly with some dedicated collaboration areas on our new Mattermost communication platform, so stay tuned for more info! Quickfire FAQ Here's a quick FAQ of what has been explained above! What's happening? Should I be concerned? - EA has released the Renegade source code under the GPL licence. This is great news for us as it will allow us to work on a new game engine. No need for concern! A new engine you say, what's that? - Yup, we're working on a new game engine called OpenW3D. This will be an open source version of the W3D engine that aims to be an accessible platform for developing Rene-like (Renegade-like) games. We're aiming for it to be a more robust platform than what we use currently. Sounds good, how can I get involved with OpenW3D? - Our infrastructure for supporting open development isn't quite ready yet, but in the meantime we'll be opening a public channel for OpenW3D in our Discord server. Eventually we will open a dedicated space for development on our Mattermost communication platform. Stay tuned for more info! How does OpenW3D affect the Tiberian Technologies scripts patch? - The short answer is, it doesn't. The team at TT will keep developing the TT scripts patch for Renegade on the W3D 4.x codebase as normal. The team won't be using at any of the Renegade source code that EA has just released though, as that would violate the GPL licence. So what codebase or game engine do your games, like APB, AR and TSR, use? - These games use the W3D Engine 5.x codebase described earlier in this post. Some other games use 4.x though, such as Interim Apex and ECW. Is W3D Hub using the Renegade source code in existing projects like APB and TSR? - No, we won't be, as including any of the release code would require us to release our code under GPL, which we cannot do. What about using the Renegade Source code in the TT scripts patch? - This is also not possible due to GPL. Will any of your games switch engine to OpenW3D? - Not in the short term, but in the long term when the engine has developed a lot more, we can evaluate whether we want to move our projects across. It's simply not realistic to switch engine at this stage, as it is way too early in development. Thanks for Reading Whew, that was a lot, but thanks for bearing with us! This is a really exciting movement for the community and couldn't have been possible without people at EA like CCHyper, Jim Vesella, Brian Barnes, as well as talented people in our own community here at W3D Hub such as @ jonwil , @ Unstoppable and @ Jerad2142 . It's down to the hard work of these people that we can even think about doing this today. To re-iterate, we will be opening a new channel on Discord to cover OpenW3D development and Interested people from all levels of experience are encouraged to come and engage with us in there. Once we have our infrastructure in order, we'll have more information on how to sign up soon too! Thank you for reading, and please let us know if you have any further questions, concerns, or feedback. - OWA and the W3D Hub Team
-
Hi everyone, In case you missed it, EA has just released the Renegade source code on their GitHub page, as well as enabling Mod Workshop support for several of the C&C titles on Steam! You can read more about this here: https://www.reddit.com/r/commandandconquer/comments/1izmpmb/cc_steam_workshop_support_source_code/ So what does this mean for W3D Hub, the Renegade Community and the Tiberian Technologies Scripts Project? These are questions that we're currently trying to answer ourselves, so as we look ahead we have some crucial decisions to make regarding the future of the W3D Engine. We know many of you are eager to dive into the code and start experimenting, so we are currently developing a plan for our long-term goals to enhance the W3D engine and improve all of the games we support here at W3D Hub. We have some initial ideas that we're not quite ready to share yet, but once we had some more solid plans we'll share them with you in full, as well as give you information on how to get involved if you're passionate about pushing Renegade and W3D to the next stage in it's history. Speaking of history: we've been reverse-engineering the Renegade source code for over 20 years now to the point where we've added many new features and functionality to our games. With the formation of W3D Hub over a decade ago our mission statement was to preserve C&C Renegade and develop our own unique experience on it's flexible game engine. With the official source code released, we are presented with the unique opportunity and the mandate to continue that work even more now than ever before. We hope you'll all join us on this journey in the months and years to come! We've achieved amazing things with the engine over the years, but we never imagined the source code would be released in such a significant way, so a massive thank you goes out to CCHyper, Jim Vessella, Brian Barnes, and everyone at Electronic Arts who made this possible. You've ensured that the C&C Renegade community can thrive for many more years to come. Also a special thanks to our very own @ jonwil @ Jerad2142 and @ Unstoppable who have worked tirelessly over the years to improve C&C Renegade with the TT Scripts Project. As we look to the future of the W3D Engine, we are all excited about the possibilities to come. Please stay tuned for the next update where we'll be sharing our plans for the future in full. - OWA & The W3D Hub Team
-
We did. At that stage it was just a worse version of the Titan.
-
It goes this fast for balance reasons. We had a slow Wolverine before and it wasn't a very good unit.
-
We've just released Tiberian Sun: Reborn version 2.0.1.0! Our focus on this release was to fix bugs and improve the overall balance of the game. The notes below should cover all of the changes we've made in the past couple of weeks. We'd also just like to take this opportunity to thank everyone who has picked up the game and joined battles on the server. It's really nice to see that Reborn still has the power to inspire and excite people even after all of these years, so thankyou for putting big smiles on our faces. General New objective marker system for detecting units with the Mobile Sensor Array. This fixes a bug with the HUD related to being in range of an enemy MSA Players no longer have their inputs stuck when their deployed vehicle is destroyed while transitioning Adjusted key mappings to assign default hotkeys to the extended options hotkeys list for clean installations. This may result in some keybind popup spam on the first game join, but has been shown in testing to work Color-coded the HUD health bar to green, yellow, and red Fixed server instabilities Score System Building score system has been overhauled such that damage/repairs are based on a percentage of the building’s maximum HP: 37.5% for damage, 25% for repair, 25% for bounty, 10% for defense bounty This varies for small structures Large critical structures give 250 points to the team, non-critical large structures give 300 points to the team, and an additional amount awarded to the team multiplies 250 by the player count Radar Compass Ghost Stalker/Cyborg Commando blips have been changed (set to exclamation marks) Mammoth Mk II blip has been changed (set to target) Blips get smaller if they are above/below you Maps Fixed a good number of stuck spots, terrain holes, floating objects, misaligned objects, visible objects that should be invisible, and other small, general map issues Reinforcement harvesters have generally had pathfinding improvements across the board, including fixes in a lot of cases where they were dropped by the Carryall and drove nowhere Adjusted the transparency of water on several maps to make it more consistent Adjusted the drown zone height on several maps to make it more consistent where you start drowning (and you can’t walk as deeply into the water), also added drown zone on any maps where it was missing TS_Anchorage Added basic underwater terrain Moved a GDI aircraft spawner away from the Refinery to a spot between the Construction Yard and War Factory TS_Cliffs Fixed improperly placed no-dig zone in the GDI base, and extended its coverage to the Nod base Adjusted lighting TS_Dam Adjusted a bit of the vehicle-blocking clutter in the bases Fixed a bug allowing AAPC and MLRS to drive into the deep water Made slight adjustments to the ramps leading to the upper infantry routes Adjusted the out-of-bounds zone so it doesn't affect infantry up top where it shouldn't TS_Drought Bases got internally flipped with Power Plants on the inside loop Cut a path through the Tiberium Field Silos changed to blue TS_Field Added no-dig zone to the Nod base Filled in a no-dig zone gap at the back of the GDI base TS_GrandCanyon Added two Sam Sites to Nod interior walls Cleaned up map issues TS_Isles Fixed missing ability for MLRS and AAPC to drive on top of the water Mobile Repair Vehicles no longer spawn stuck in the Nod War Factory Expanded the no-dig zone behind the GDI base Adjusted Laser Turret displacement (removed coastal turret) Adjusted Sam Site displacement (rear War Factory Sam is now on the roof) Added civilian buildings Added GDI corner walls where applicable Minor adjustments to aircraft landing points TS_OmegaCity Fixed erroneous out-of-bounds warning in the Hand of Nod basement Fixed Nod outpost repair section, including removing the stuck MRV Removed one rear Nod SAM site and adjusted the others Adjusted water zone so players can’t travel so deep without taking damage Silos changed to blue TS_Snow Added a Tiberium Silo for each team TS_TaintedLegacy Added an underwater zone to the lake TS_Tiber Removed phantom GDI/Nod Construction Yards Balance Changes We've made a ton of changes to the game based on your feedback in the Discord Feedback Hub. Please keep the feedback coming, as it's really valuable for us to know how you're all perceiving the game. Thanks to everyone who has spent time to give feedback so far! The main aim of the changes in this release were to re-centre the balance of vehicles, as the general consensus was that they were a bit weak. Upon investigation we discovered that our benchmark engagement (a Titan vs a Tick tank) was around 13 seconds, which was way to short for what the game really required. With that in mind, we've done some work to strengthen vehicles vs anti-tank weapons to draw those engagements out a bit more. Below is a full list of balance changes. If you have any feedback on the way these numbers are presented, please let us know! Global Armour Types & Warhead Changes Every building, infantry and vehicle in TSR has an armour type. Every projectile and explosion has a warhead type. When calculating damage, a projectile’s warhead will have a multiplier that corresponds to an armour type in order to determine how much damage is dealt. For example, my Titan’s cannon does 90 damage and has the Warhead “Tank Shell”. I am shooting an undeployed Tick Tank which has the armour type “Armoured Vehicle”. “Tank Shell” has a 0.65 damage multiplier when shooting at “Armoured Vehicle”, so the total damage dealt to the Tick Tank per shot is 58.5. The changes below have been made to the Armour & Warhead table to enact larger changes throughout the entire game. Jumpjet Infantry Reduced incoming damage from Rocket, Tank Shell, Plasma and Railgun Weapons Mutants Reduced incoming damage from Railgun Weapons Cyborgs Reduced incoming damage from Rocket and Plasma Weapons Enforcer Reduced incoming damage from Rocket Weapons Light Vehicle Light Vehicles have been made a bit tougher to increase their survivability Reduced incoming damage from Bullets, AP Bullets, Rockets, Grenades, Tanks Shells, Artillery Shells and Sonic weapons Armoured Vehicle Armoured Vehicles have been made a bit tougher to increase their survivability Reduced incoming damage from Bullets, AP Bullets, Rockets, Grenades, Tanks Shells, Artillery Shells and Sonic weapons Deployed Vehicle Reduced incoming damage from Tank Shell Weapons Aircraft Aircraft have been made a bit tougher to match the buffs that other vehicle types have received. Reduced incoming damage from Bullets, AP Bullets, Missiles, Rockets, Grenades, Tanks Shells, Artillery Shells, Plasma, Railgun and Sonic weapons Cyborg Reaper Reduced incoming damage from Grenades, Tanks Shells, Artillery Shells, Sonic and Melee weapons Buildings Reduced incoming damage from Rocket, Tank Shell and Sonic weapons Base Defences Reduced incoming damage from Rocket and Tank Shell weapons Base Walls Increased incoming damage from Grenade and Grinder weapons Buildings Building doors now open and close properly after the building is destroyed (same behavior as when the building remains alive) Repair rates increased for the Service Depots and Helipads Air units can now be sold at Helipads Construction Yard (both teams) Fixed a flame emitter that floated perpetually in the air when the building was destroyed GDI Helipad Minor fixes and improvements to the mesh, including enabling the pad lights Nod Tiberium Silo Points/credits are now earned from damaging and repairing this building Defenses Now detect stealth up to half their weapon range Nod Laser Turret Reduced weapon spread: 0.3 -> 0.15 Infantry All infantry now slowly auto-heal to 50% health whenever undamaged for 30 seconds All infantry are blocked from refilling at a PT within 5 seconds of taking damage Buffed purchasable frag grenades: Damage strength: 35 -> 40 Explosion Radius: 4 -> 6 Explosion Inner Radius: 2 -> 3 Proxy mines no longer stick to friendly units Proxy mine health greatly reduced: 100 -> 45 Timed C4 is now grouped under the pistol for Engineers GDI Officer Rate of fire increased: 20 -> 30 Removed spray angle increase on movement GDI Missile Trooper Weapon right click has been changed from scoping to “dumbfire” (missiles with no tracking) GDI Riot Trooper Pistol/Shield is now centered in first person view Shotgun adjustments Slug damage reduced: 110 -> 60 Slug spray increased: 0.2 -> 0.4 Slug projectile extension XYZ reduced: 0.1 -> 0.05 Slug ammo cost reduced: 2 -> 1 Inner spray angle % added: 0.5 Shifted 2 pellets to inner radius GDI Medic No longer heals enemies Self-healing to 50% is twice as fast (compared to other infantry) and requires half the time to activate GDI Jumpjet Can now drive vehicles Improved aerodynamics Increased projectile extension: 0 -> 0.1 GDI Enforcer Weapon damage increased: 4.5 -> 5.5 Weapon velocity increased: 75 -> 115 Weapon can now travel through a max of 6 targets Nod Elite Cadre Buffed Sting grenade: Explosion Radius: 2.5 -> 3. Explosion Inner Radius: 1.25 -> 1.5 Nod Cyborg Commando Removed ability to harm himself with his flames Nod Cyborg Minigun now uses correct tracer Increased Cannon Damage: 11.5 -> 20 Nod Chameleon Spy The Spy now takes damage from standing in Tiberium Nod Kerubim Reduced Damage 15 -> 12 Weapons Fixed some weapon name typos Tracer sizes adjusted slightly Vehicles Units that are underground can now drive beneath walls and gates Underwater zones now destroy aircraft immediately GDI Wolverine Spray angle decreased: 2 -> 1.25 Yaw turn rate increased: 10 -> 20 GDI Amphibious APC Reduced Price: 800 -> 700 Increased Damage: 20 -> 30 New firing sound Cleaned up Turret Ring Texture Unwrap New Dedicated Turret Model GDI Hover MLRS Fixed target locking issue Rate of fire increased: 6 -> 7.75 Burst delay decreased: 1.4 -> 1.25 Random tracking value decreased: 0.07 -> 0.05 GDI Disruptor Increased speed: 0.5 m/s Weapon can now travel through a max of 8 targets GDI Mobile EMP Now affects enemy rate of fire and reload: reduces by 34% Weapon explosion radius increased: 12 -> 15 Fixed a bug related to the panning of the tracks GDI Juggernaut Reduced gun traverse/elevation speed and minimum depression Reduced Impact Damage 75 -> 60 Reduced Explosion Damage: 75 -> 45 Reduced weapon’s explosion radius: Explosion Radius: 15 -> 10 Explosion Inner Radius: 7.5 -> 5 Juggernaut no longer takes reduced damage when deployed GDI Mammoth Mk II Adjusted turret camera New chin gun firing sound GDI Orca Fighter General adjustments to VTOL flight mode Increased Health: 300 -> 400 GDI Orca Bomber Vertical acceleration increased. 20000 -> 35000 Nod Attack Buggy Target bone added Nod Attack Cycle Increased Damage: 32 -> 52 Nod Devil’s Tongue Increased speed slightly. Torque up 16000 -> 18000 Spray angle decreased slightly: 7.5 -> 7.25 Target bone added Custom flamethrower explosion added Explosion radius increased: 4 -> 5 Camera shake radius increased: 3 -> 3.5 Muzzle Bones Angled down 5 degrees(hits targets closer to ground easier) Nod Subterranean APC Price reduced: 800 -> 700 Increased Health: 500 -> 600 Nod Mobile Repair Vehicle Rate of fire increased: 8 -> 16 Repair “damage” increased: 2 -> 5 Health reduced: 400 -> 350 Building warhead scale: 0.5 -> 0.4 Speed increased: Engine torque: 8000 -> 8500 Range increased: 12 -> 14 Nod Stealth Tank Disabled surface effect damage (The vehicle is no longer de-stealthed in Tiberium) Nod Artillery Reduced gun traverse/elevation speed and minimum depression Reduced damage: 90 -> 75 Reduced weapon’s explosion radius: Explosion Radius: 16 -> 12 Explosion Inner Radius: 8 -> 6 Target bone added Animated barrel (deploy animation) Improved the wheels slightly Artillery no longer takes reduced damage when deployed Nod Harpy Increased Rate of Fire 20 ->30 Increased Health: 300 -> 450 Nod Banshee Banshee guns now pivot up and down slightly Added barrel pitch: +5° to -15° Reduced ammo reserve: 24 -> 16 Increased Health: 300 -> 400 That's it! That's it for now. If you want to provide feedback on the game, please head over to Discord and post in the feedback Hub, or if you prefer, our General Discussion forum is also a great place to discuss the game too. See you on the battlefield soldiers! [blurb]We've just released Tiberian Sun: Reborn version 2.0.1.0! Our focus on this release was to fix bugs and improve the overall balance of the game. The notes within this post should cover all of the changes we've made in the past couple of weeks.[/blurb]